Backend
개발 순서
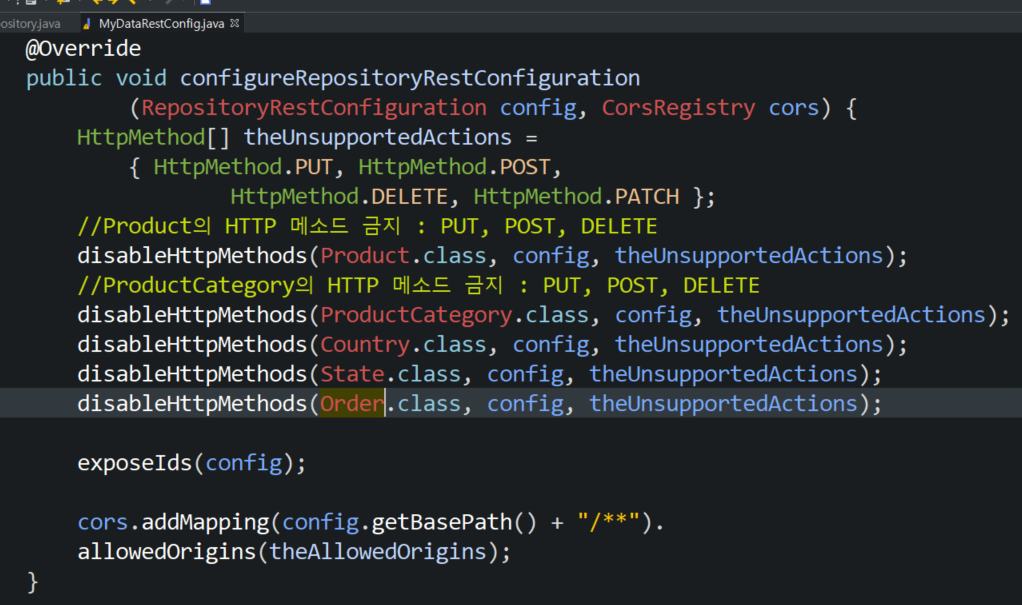
1. OrderRepository REST API 생성
2. OrderRepository REST API를 읽기 전용으로 config 설정
1.
유저 이메일로 주문을 검색할 수 있는 endpoint 노출.
Spring Data REST와 Spring Data JPA 는 query method를 지원,
Spring은 메서드 이름 기반으로 쿼리를 생성한다.

인터페이스를 만들고 위처럼 쓴다.
2.
Frontend
개발 순서
1. 웹브라우저 스토리지에 로그인한 유저 이메일 저장
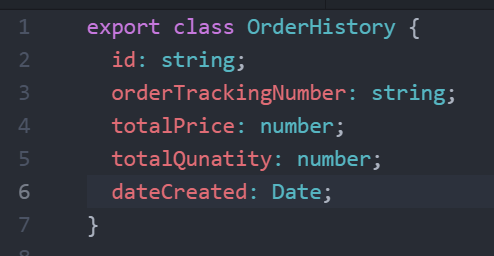
2. OrderHistory 클래스 생성
3. OrderHistory 서비스 생성
4. order-history component 생성
5. HTML 페이지 수정
6. login-status component에 Order 버튼 추가
7. order-history component에 route 정의
1.
import { Component,Inject, OnInit } from '@angular/core';
import { OktaAuthStateService } from '@okta/okta-angular';
import { OKTA_AUTH } from '@okta/okta-angular';
import { OktaAuth } from '@okta/okta-auth-js';

@Component({
  selector: 'app-login-status',
  templateUrl: './login-status.component.html',
  styleUrls: ['./login-status.component.css']
})
export class LoginStatusComponent implements OnInit {

  isAuthenticated: boolean = false;
  userFullName: string;
  storage: Storage = sessionStorage;

  constructor(private oktaAuthService: OktaAuthStateService,
    @Inject(OKTA_AUTH) private oktaAuth: OktaAuth) { }

  ngOnInit(): void {
    this.oktaAuthService.authState$.subscribe(
      (result) => {
        this.isAuthenticated = result.isAuthenticated;
        this.getUserDetails();
      }
    )
  }

  getUserDetails(){
    if(this.isAuthenticated){

      this.oktaAuth.getUser().then(
        (res)=>{
          this.userFullName = res.name;

          const theEmail = res.email;

          this.storage.setItem('userEmail', JSON.stringify(theEmail));
        }
      );
    }
  }

  logout(){
    this.oktaAuth.signOut();
  }
}
sessionStorage 변수를 만들고
거기에 유저 이메일을 저장.
2.
ng generate class common/OrderHistory
3.
ng generate service services/OrderHistory
import { Injectable } from '@angular/core';
import { HttpClient } from '@angular/common/http';
import { Observable } from 'rxjs';
import { OrderHistory } from 'src/app/common/order-history';

@Injectable({
  providedIn: 'root'
})
export class OrderHistoryService {

  private orderUrl = 'http://localhost:8080/api/orders';

  constructor(private httpClient: HttpClient) {

   }

  getOrderHistory(theEmail : string): Observable<GetResponseOrderHistory> {
    const orderHistoryUrl = `${this.orderUrl}/search/findByCustomerEmail?email=${theEmail}`;
    return this.httpClient.get<GetResponseOrderHistory>(orderHistoryUrl);
  }
}

interface GetResponseOrderHistory{
  _embedded:{
    orders:OrderHistory[];

  }
}
4.
ng generate component components/OrderHistory
import { Component, OnInit } from '@angular/core';
import { OrderHistory } from '../../common/order-history';
import { OrderHistoryService } from '../../services/order-history.service';

@Component({
  selector: 'app-order-history',
  templateUrl: './order-history.component.html',
  styleUrls: ['./order-history.component.css']
})
export class OrderHistoryComponent implements OnInit {

  orderHistoryList: OrderHistory[] = [];
  storage : Storage = sessionStorage;

  constructor(private orderHistoryService: OrderHistoryService) { }

  ngOnInit(): void {
    this.handleOrderHistory();
  }

  handleOrderHistory(){
    const theEmail = JSON.parse(this.storage.getItem('userEmail'));

    this.orderHistoryService.getOrderHistory(theEmail).subscribe(
      data=>{
        this.orderHistoryList= data._embedded.orders;
      }
    );
  }
}
5.
<div class="main-content">
  <div class="section-content section-content-p30">
    <div class="container-fluid">
      <h3>Your Order</h3>

      <div *ngIf="orderHistoryList.length >0 ">
        <table class="table table-bordered">
          <tr>
            <th width="20%">Order Tracking Number</th>
            <th width="10%">Total Price</th>
            <th width="10%">Total Quantity</th>
            <th width="10%">Date</th>
          </tr>

          <tr *ngFor="let tempOrderHistory of orderHistoryList">
            <td>
              {{tempOrderHistory.orderTrackingNumber}}
            </td>
            <td>
              {{tempOrderHistory.totalPrice | currency: 'USD'}}
            </td>
            <td>
              {{tempOrderHistory.totalQuantity}}
            </td>
            <td>
              {{tempOrderHistory.dateCreated | date: 'medium'}}
            </td>
          </tr>
        </table>
      </div>

      <div *ngIf="orderHistoryList.length == 0" class="alert alert-warning col-md-12" role="alert">
        No orders found.
      </div>
    </div>
  </div>
</div>
6.

7.

번외로 데이터를 갖고 올 때 OrderBy를 적용하는 법은

메서드 이름을 바꾸고
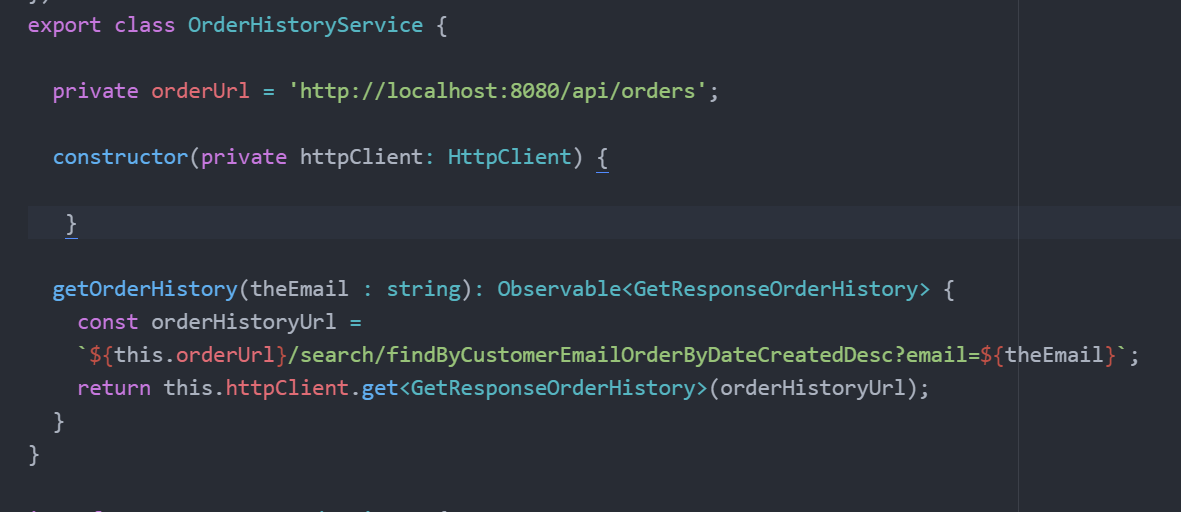
Angular에서도 수정하면 된다.
주문할 때 이메일 입력을 아무거나 하니까
customer table에 아무거나 입력한 이메일이 등록되고
주문 내력을 가져올 때 아무거나 입력한 이메일과 세션에 저장된 현재 로그인한 이메일이 달라서 못 가져오는 바람에
테이블에 있는 이메일을 세션에 있는 이메일로 수정했던 기억이 난다.
주문페이지에서 현재 로그인한 이메일을 초기값으로 넣는 기능을 만들자.
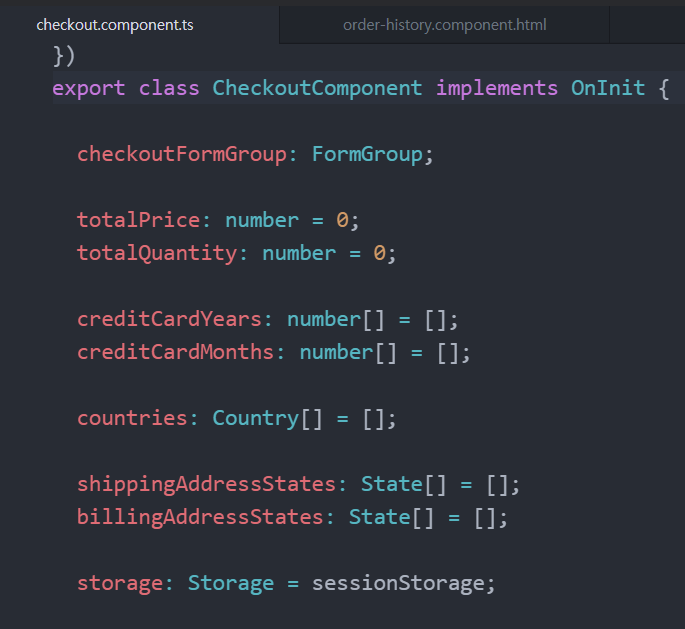
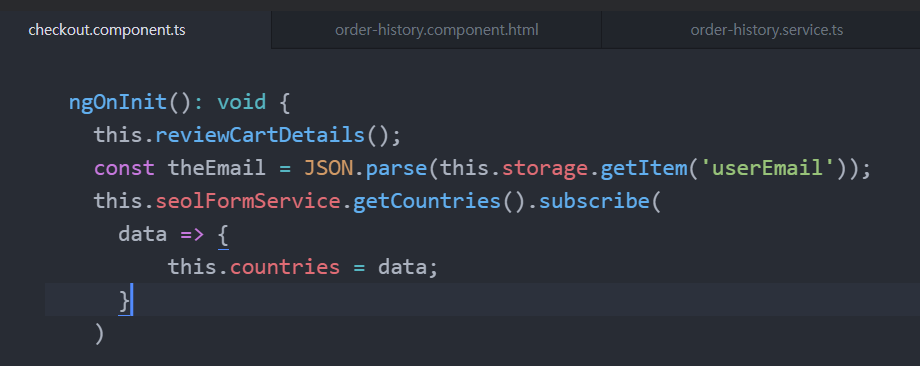
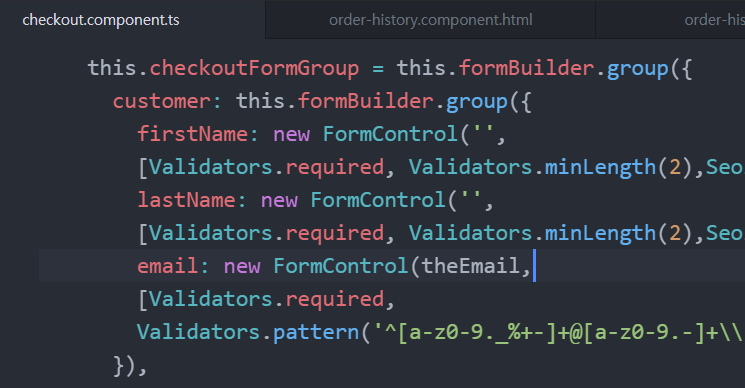
storage 만들고 email 정보를 storage에서 갖고 온 다음 formControl에다가 주입하면 된다.
'컴퓨터공학 > Boot & Angular' 카테고리의 다른 글
| Angular> HTTPS (0) | 2022.04.09 |
|---|---|
| Angular> 주문내역2 (0) | 2022.04.03 |
| Angular> 리팩토링 (0) | 2022.03.30 |
| Angular> 유저 등록, 회원 전용, 세션 저장 (0) | 2022.03.29 |
| Angular> 로그인 로그아웃 (0) | 2022.03.26 |


